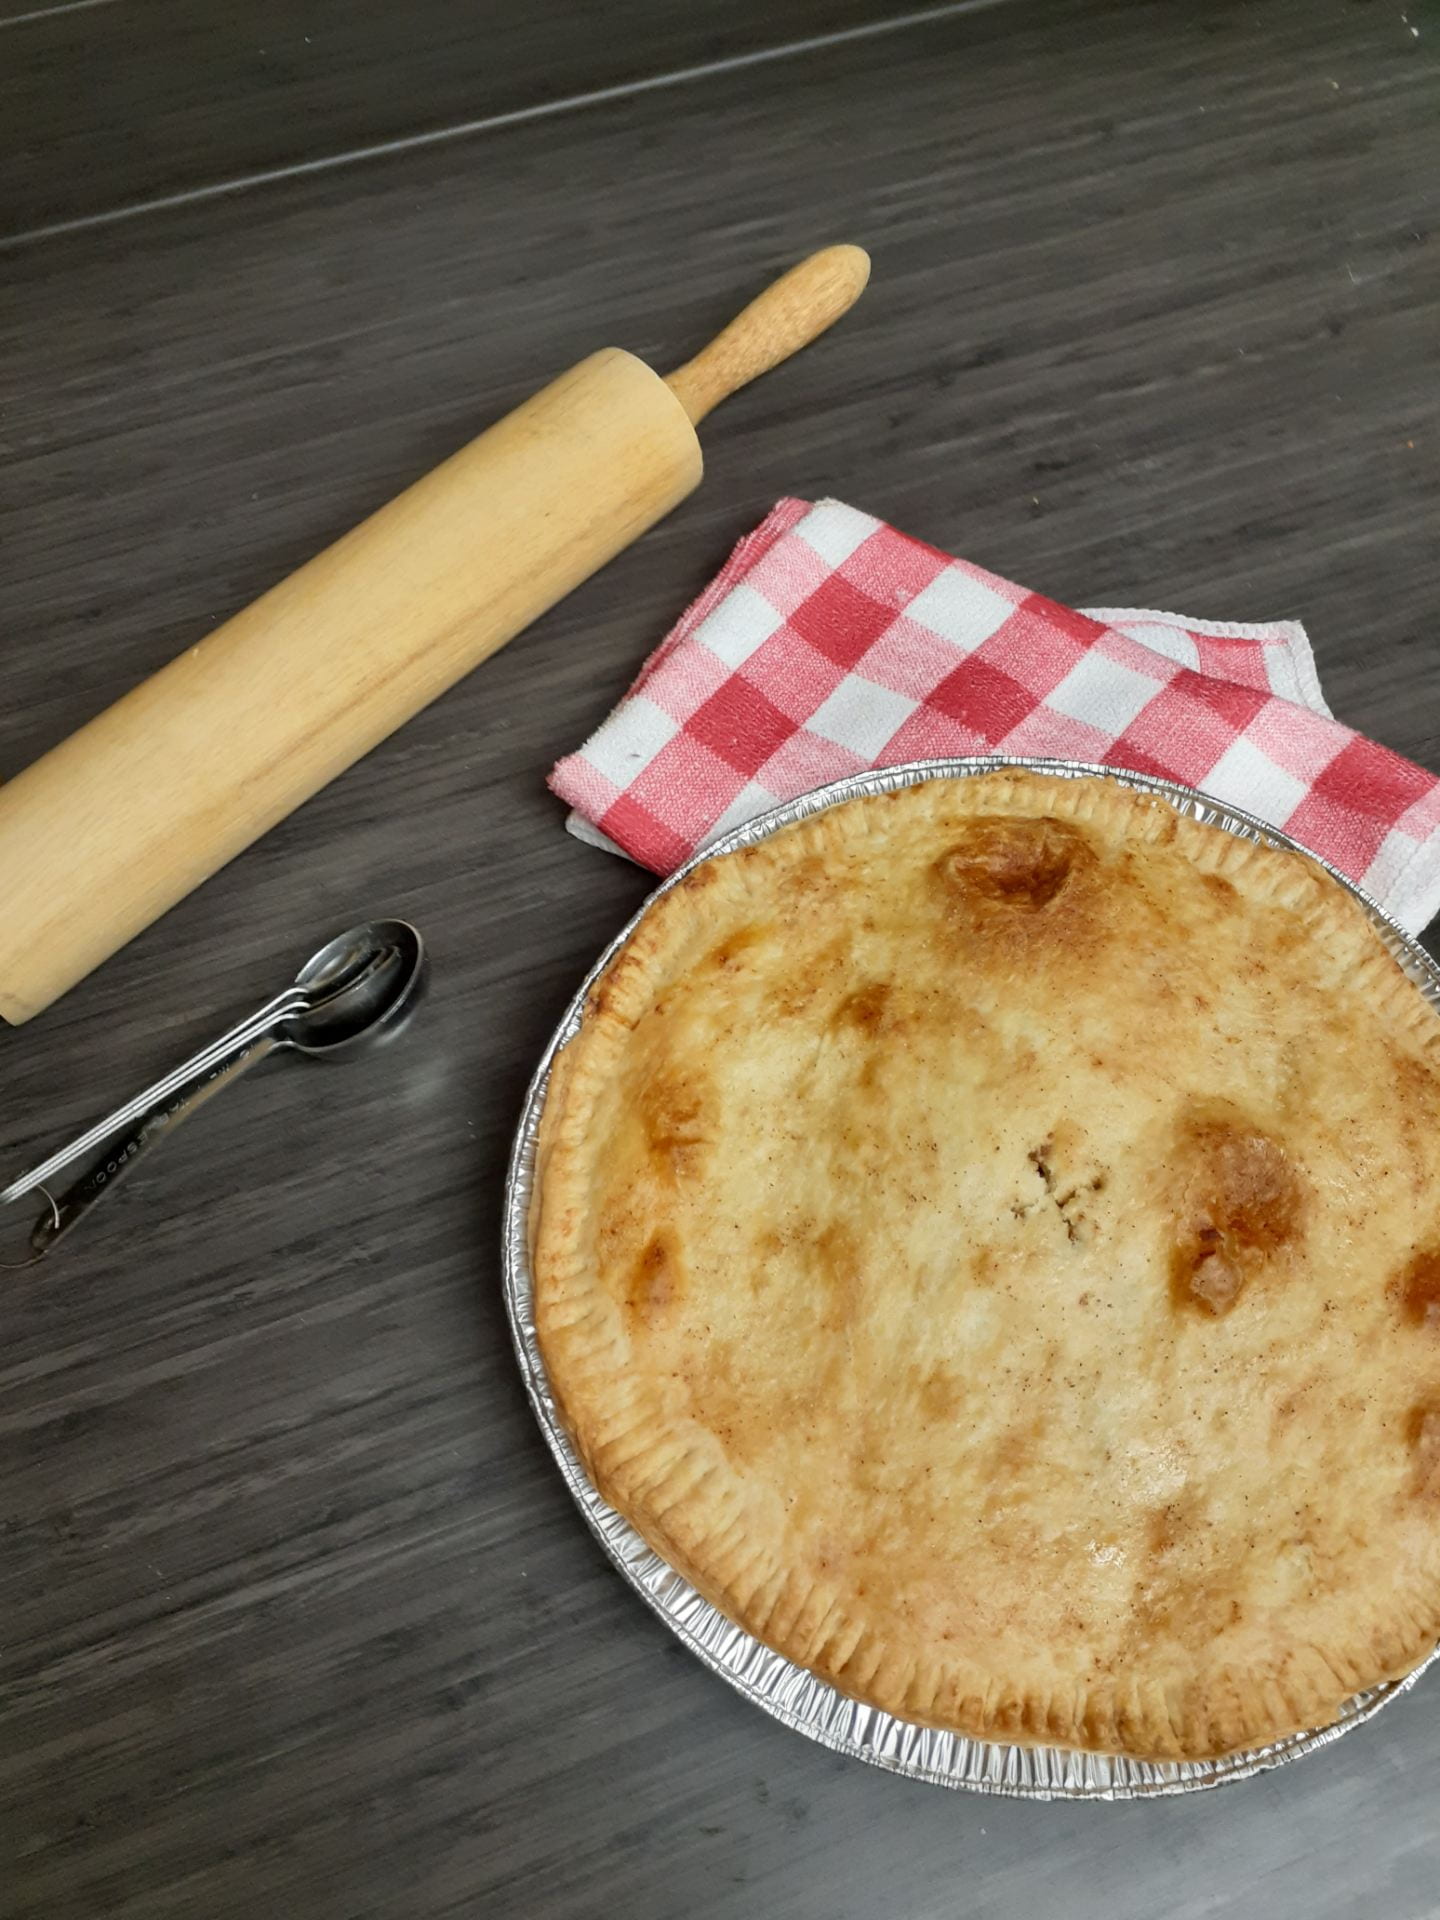
 For this project, I chose to bake an Apple Pie. I’d seen your video on OneNote and made it once already. It always turns out amazing and my family loves it. I was familiar with the process so I didn’t come across any issues, and I think it was an excellent choice for this assignment. I already had all the ingredients in my house so it worked out great. The original recipe calls for a mix of butter, shortening, and margarine. The last time I baked this pie, I followed the recipe and it turned out a bit salty for my taste. This time I used only butter and I think it tasted a lot better. My family really enjoyed the pie this time around. More than last time because of the changes I made.
  I brought it to a family dinner at my grandma’s house and it was finished before I could grab a second slice. It turned out exactly as I’d hoped and I wouldn’t make any changes. I’m looking forward to baking this again in the future because it’s always a success. While working on this week’s assignment, I learned that you don’t always have to stick to the recipe. Trying new things and adding more or less of an ingredient might actually give you a better outcome than the original. I learned to not be afraid to add my own twist to a recipe and even if it doesn’t turn out well, it’s a lesson for next time.

Apple Pie
Ingredients
Pastry:
3 c. 750 mL Flour
1 tsp. 5 mL Salt
2 tsp. 10 mL Sugar
1 c. 250 mL Butter, Margarine or Shortening (or a blend of 2)
6-8 Tbsp. 60-80 mL Ice Cold Water
Filling:
6-10 6-10 Apples: peeled, cored, and sliced
¼ c. 60 mL All-purpose Flour
¼ c. 60 mL Sugar
1 tsp. 5 mL Cinnamon
½ tsp. 2 mL Nutmeg
½ tsp. 2 mL Salt
1 tsp. 5 mL Vanilla
1 1 Egg
Sugar for sprinkling
Pastry:
1. In a large bowl, combine flour, salt, and sugar
2. Cut in shortening with a pastry blender until mixture resembles coarse meal, then cut in butter
until particles are the size of small peas.
3. Add cold water gradually, tossing dough lightly with a fork.
4. Gather dough into a ball and refrigerate for at least one hour.
5. Allow dough to come to room temperature (no more than 10-15 minutes) before rolling
Pie:
1. Preheat the oven to 400
2. In a medium size bowl, mix sliced apples with flour, sugar, cinnamon, nutmeg and salt
3. On a floured surface, roll out half the pastry in a circle just larger than your chosen pie plate, .
Be sure to roll from the center, out so as not to activate the gluten in the flour!
4. Loosely place the pastry into the pie plate, lifting the edges to place into the dish without
stretching the dough in any way. Patch up any cracks or empty spots in the pastry.
5. Roll out the second layer of pastry the same size as the first one.
6. Fill the pie plate with the apple filling, making sure the filling is evenly distributed.
7. Cover the pie with the second pastry layer, crimping around the edges with a fork, or pinching
decoratively with your fingers
8. Brush with egg wash and sprinkle with sugar. Using your paring knife, cut vent holes into the pie
9. Place in oven and loosely cover with tin foil. Bake for 25 minutes, then remove the tin foil. Bake
another 15-20 minutes, until golden brown.
10. Remove from oven and allow to cool before eating.